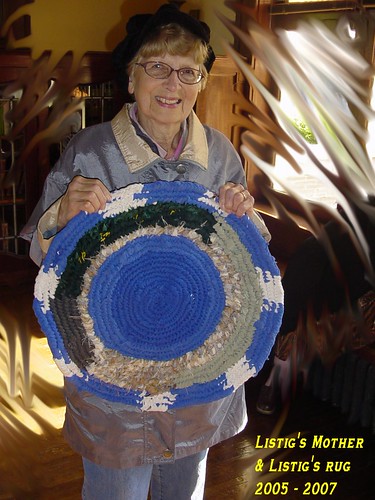
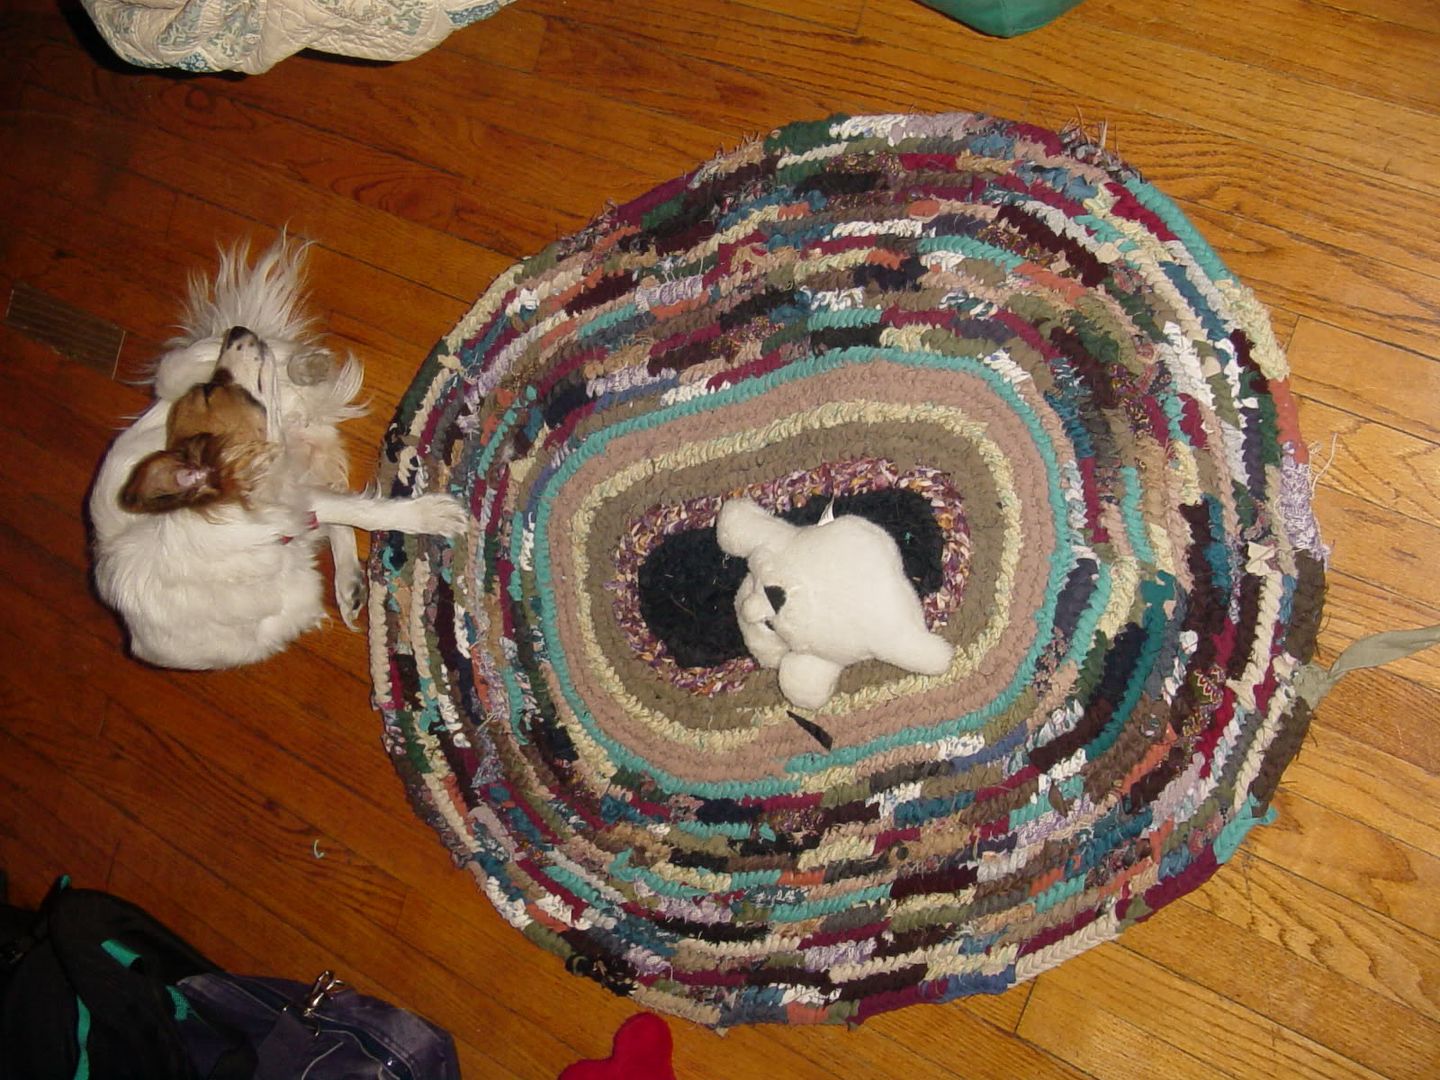
Editorial comment: 11/21/07 - I've given up on renaming the craft "recycling rugs" but you'll see the term in this document. The craft been around too long, and is too well known as "toothbrush rugs" or "toothbrush handle" rugs. I 'll just find other ways to emphasize the recycling / green aspects of the craft!I've started doing video tutorials, and this document will ultimately be supplanted by combined text/video posts of the various aspects of the craft, but I put it up because other than my silly idea that I could rename an ancient craft, its good as far as it goes.But I'm a bit older and wiser now, and with video technology at my disposal, I think that's the way to go!Rugs 101 By by Peter A. List
How to make a “Toothbrush Handle rug” or a “Recycling Rug” with cast offs, a needle made from a toothbrush, and a very
little bit of skill
© Copyright 2001-2007 - Creative Commons License applies.
“What is this called” To the best of my understanding (11.21.07 addition) ... the proper name is “Naalbinding,” but since almost no one out of Society for Creative Anachronism folk, avid crocheters, and lovers of Viking ways and history know of it that way, I’ll stick with the more common “Toothbrush handle rugs,” or simply "toothbrush rugs".
1) Most new toothbrush handles don’t work! Sure, they’re fine for teeth, but try smoothing one into a needle the shape of a very long canid tooth, drilling a hole in one end, and using it for several thousand stitches.
The term was always a bit humorously confusing, but its becoming an anachronism, and really means nothing to younger “Gen-Xers” and “Gen-Y.”
2) Since the old term is long in the tooth, I thought it would be good to give it a new name which would capture the beauty of the craft and the attention of people in the twenty-first century.
“Where did it come from?” Naalbinding is a Scandinavian craft which predates the region’s written history. How it came to be a folk craft done by people in 20th century Indiana I don’t know? My family learned it from a disabled man in Valparaiso Indiana who made and sold them to survive during the Great Depression in the 1930s.
“Why tooth-brush handles?” They make great needles. They’re just the right size, and the simple ones don’t take a lot of work to convert to a needle.
What’s great about it too is that even the needle is a reuse of a simple, common, throw-away.
The best are usually gentle tapered, but have a nice point, like a spear head.
For plastic I like the sharper and more narrow ones.
“What can be used?” Nearly any not knit materiel can be used. Sweaters and the like are totally out- they unravel.
That being said, some fabrics and clothes are easier to start out with...
[Basic] - Larger, longer clothes, or even old curtains or sheets, just because there are fewer seams etc. to cut around.
- Normal weight cotton, cotton poly– they don’t streatch too much, are easy to cut, easy to pull.
Cut them into strips about 3/4ths of an inch wide, depending on weight of fabric, and how thick you want the rug to be, and as long as you can.
[Advanced] - Heavier fabrics like jean or denim.
Cut them no thicker than ½ inch, and be prepared to work a lot harder pulling them through.
The results are quite impressive- my sister made a blue-jean rug that was a wonder!
- Plastic bags, especially grocery bags.
Cut the handles off, and the bottom seam. Then make one cut through what’s left to make your strip.
For bags with “ribs”, cut off the handles and make two cuts along the side of the bag to create the strip. This will work OK, but the seam in the strip can catch and make the pull-through more difficult.
I’ve not found that any other type of plastic bags work so well- newspaper wrappers are a bit sticky, and stretch out too much. Thicker bags like the ones we use in the bookstore also have a tenancy to stretch out, and are hard to pull.
So initially, until you’re used to working with plastic, I highly recommend that you stick with normal grocery bags.
[Way Advanced] - Hosiery [men’s or women’s], clothes with Lycra® or other stretchy materiel.
Mind you, the results are phenomenal, these make rugs that your feel can’t wait to walk on, and the dark and neutral colors most of the items come in almost always work very well together, but...
Since these fabrics stretch out, special care has to be taken when using them. You need to make sure that when you do the actual stitch, even though you’re pulling the fabric through, you’re not stretching it out. Otherwise, the rug will tend to cup up, you’ll have to use a lot of double stitches [see below], and so on.
My advice is very much to make a few “normal” rugs so you get the feel of how it should go before venturing on to this.
Cut shorter strips, no more than 2 feet long, and wider- 2 inches or more, depending on the thickness of the garment. Spiraling down a sock or piece of hosiery is fine, but I’d still advise cutting it into shorter segments until you really have the feel for how these behave.
So from here on out, I’m going to assume we’re just using normal weight cotton or cotton-blend fabric. This is easiest to start, there’s a lot of it around, and once you’re used to working with it, you develop a feel for how the rug should be going, so you can experiment with other materiels and fabrics.
I’m going to assume we’re starting with a “rug start”, a small rug that has a few rows done. That way, you can concentrate on the stitching, and get used to how incredibly easy and forgiving this craft really is!
How to do it!
The stitch
The loops:
There are three loops you will always be working with:
1) The “bottom loop” is the top edge of the row that you’re sewing along.
2) The “top loop” is the top loop of the advancing row.
Each row has two loops. Don’t worry about the middle one- if you put the needle through it though, it will be OK, its just not what you want to do most of the time.
3) The “thumb loop” is the fabric that goes around your thumb as you are sewing each loop. To complete the stitch, you will twist this over the needle.
The stitch: 1) Always start with your thumb in the thumb loop.
2) Put the needle up under the bottom loop.
3) While the base of the needle is still in the bottom loop, put the tip in the top loop.
4) At the same time as you push the needle through the top loop, twist the thumb loop over the tip of the needle.
Advanced: If there is a joint in the loop, and twisting it one way, say, clockwise, puts the joint in front, just twist it the other way, that way the joint will be on the back.
5) Now put your thumb on the loops you just made, and pull the fabric through with the other hand, until you have a new thumb loop.
That’s pretty much it! There are just two other things you need to do, they’re easy.
Doubles & Joints If you have to angle the needle very much between the bottom and top loops, then it is time for a double stitch. This is easy, but its important unless you want to make a hat or basket instead of a rug. Without double stitches, a rug will cup up.
Advanced: So if you want to make a hat or basket, put fewer or no doubles in, then let me know how it works, I’ve always thought that would be a fun thing to try!
This will happen a lot more often on early rows and on round rugs. As you get more rows done, you’ll need fewer. .If you are doing an oval or [very very advanced!] squared rug, there will be long stretches where you won’t need any at all
Some people count how many stitches they do between doubles, and decrease that as they go out each row. That’s OK, its how I started, but it isn’t necessary to bring math into this. To keep it easy, just follow my “rule of thumb.”
The rule of thumb: Hold you hand out normally, fingers together, thumb extended to its farthest natural position. See the angle your thumb is at compared to your fingers? If the needle looks that way compared to the rug, its time for a double stitch.
(Or lay it flat, and if the needle pulls back at more than 30 degrees, its time- 11/21/07.) How to do a double stitch After you’ve done a stitch and you think its time for a double, instead of putting your needle through the next bottom loop, put it through the same bottom loop you just did. Then proceed as normal.
Advanced: Tips on plastic rugs and stretchy rugs
Plastic: With normal cloth, having too many doubles isn’t a huge problem. With plastic, it is. Plastic rugs don’t stretch as much as cloth ones do, so too many doubles can be a serious problem, causing the rug to buckle.
Instead of using many double stitches, try making larger, looser, ones.
Stretchy materials [hosiery, Lycra®, etc.]: Just the opposite. Since these tend to pull together a lot anyway, you’ll want to be more generous with doubles.
Again, a looser larger stitch will make this less of a problem.
How to add a new strip One of the reasons these rugs are so durable is that they are totally held together with strips of cloth. That is even true when you join a new strip to an old one.
If you want, when cutting your strips, you can cut small slits in each end, running length wise, starting about 1/4 inch from the end [Advanced: for plastic, silk, or other less strong materiels, double the end over, and start the cut ½ inch from the end.]
In any case, the way you are going to add a new piece to the old is with these slits, so you need them there at some point or another.
Thread one end of the new strip through your needle.
Lay the other end on top of the old one, making sure that the slits line up.
Then bring your needle up under both strips, pull the new strip through, give it a good hard yank to make sure it is tight, and a joint will be formed between the two. That’s it! The worst that will happen is that you’ll forget to put the strips in the right order, or pull the needle from the wrong way– in which case, you just do it again the right way.
Advanced: The joint formed will be very strong, and if you’ve pulled it nice and tight, should slide easily through as you sew. Some people don’t like the look of a joint on the top of the rug, since it isn’t as smooth as the normal strip. You can trim the excess fabric, but you run the risk of the joint coming undone. Much better is to use my “reverse thumb twist” trick, above, to make sure the joint is on the bottom.
If you really want to get picky, you can even make sure the joint will be inside the loops by how tightly you pull the last few stitches of a strip, or by cutting it off so that all that is left outside of the rug is the tip and the slit of the old piece. That method produces the cleanest, most consistent results, but is also the most work. If its worth it to you, then do it, otherwise don’t worry about it.
More ThoughtsRound, oval, square? Most rugs (or chair mats or hot pads) people do are round ones. They come from a short start (a braid or chain stitch under 4 inches long) and are visually very nice.
An oval rug isn’t any harder to make, it just comes from a longer start, much longer. To get a yard long oval rug, you’ll want your start to have been 10 to 14 inches. Besides that, though, they are actually a bit easier to make because when you aren’t on one end or the other, you don’t have to worry so much about doubles.
Square and rectangular rugs are several orders of magnitude harder than any other kind. No one I knew even attempted it. After 10 years of making the rugs, when I finally started making rug starts, I figured out how it could be done.
Since this is “Rugs 101" I’ll not go into details, but the basic concept is that you double back on the row, instead of spiraling around. When that makes sense to you, you’re ready to try it.
Why not start with starts? Because they are the hardest thing to do, hands down. They’re really the only tricky part of ever making these things. Everyone I know who has learned had someone else make the first starts they used. I was doing it 10 years before I tackled it (of course, I had three expert rug makers always willing to make me a start, too!)
The reason way the start is so hard is, until you know how a normal stitch should go, its awfully hard to know if what you’re doing is likely to produce one.
Again, this is “Rugs 101" I won’t go into the details, but the basic concept is:
You start with a chain stitch or a braid.
Once that is long enough (see “round/oval” above), you just arbitrarily pick a thumb loop, a bottom loop, and a top loop, and start sewing. The first row, especially the ends, involves a lot of double or even triple stitches.
If that makes sense, you’re ready to try it.
Care Caring for these rugs is as easy as making them. Vacuum them, throw then in the washer, what ever. One thing that ought to be obvious but I just learned the hard way 2 years ago is- if the fabric in your rug wasn’t color fast before you made it into a rug, it won’t be color fast in the rug either. If you throw it in the washer, the rug will come out a nice new tint. Likewise, if you wash it with something that isn’t color fast, you can expect that color to become part of your rug.
Patterns & Designs One word: Yes. You can do what ever you want. Some people have a particular image in their mind, and work from that. Others want alternating rows or strips of color. Some use math. The easiest way is to get a bunch of strips of colors which all go well together, toss them in a bag, and take pot luck, but you can put as much work and thought into the design as you want.
Other uses Very small rugs, barely beyond starts, work great as hot pads.
Small rugs work great as chair mats.
Plastic rugs are great in the bathroom, kitchen, or as a doormat.
I’m sure someone else will come up with new uses I’ve not found. If you do, let me know!
By now, if you know anything about sewing or knitting or crocheting, you probably understand more about this than I ever will. I am totally non-gifted at those things. I can do this because it is easy and forgiving. An extra double stitch, a stitch through the middle loop, even a skipped stitch, none will matter in the long run. Every rug I’ve made has had mistakes, and I can’t find any of them to point out to you now. [Advanced: Except for the plastic oval rug I put way too many doubles in– I wound up giving it to my mother to use under her car tires in the snow, it was that rippled!]